Machine Learning Pipelines - Part I
Machine Learning Pipelines - Part I
I recently started reading Building Machine Learning Powered Applications by Emmanuel Ammeisen. What little I’ve read so far has been excellent, and I love the approach of building a real application as we walk through the book. It’s just what I’ve been looking for and I can’t wait to apply what I learn to my projects and try to extend them from notebooks to production ready web apps, however miniature my operating scale is.
For now, this post is just me walking through the exact use case as the book(build an assistant to help users write better questions). Once I’m done with that, I plan to go back and follow the steps in the book for a real application of my own. What that is, I don’t know yet but for now - let’s dive into pipelines.
Pipelines
What are pipelines? In software engineering terms, pipelines are a series of processes on inputs in a sequential manner ie. output of one becomes the input to the other. For machine learning, this usually reduces to the data transformation and pre-processing that needs to be done before the data is suitable to be fed into an architecture. As ML has exploded, so has the research and time spent on developing scalable infrastructure. The field is in a constant state of flux, with new libraries and open source tools being released rapidly. Microsoft Azure has a nice overview on the different kinds of workflows involved in an ML pipeline [here].(https://docs.microsoft.com/en-us/azure/machine-learning/concept-ml-pipelines)
Our use case
For now, let’s continue with a simple pipeline of our own. We’ll assume that our model is already trained and focus on the inference/serving pipeline. An inference pipeline takes in the user input, processes it, passes it to the model and presents the user with the results.
Accept user input
We can build a simple web app with a textbox to allow the user to enter text input. For this, we’ll look into fastAPI which as the name suggests, is a web framework with high performance. For more info on fastAPI, the documentation has an excellent tutorial.
Let’s start by defining the .html for the text input web app -:p
<html>
<body>
<form name="form1" method="get" action="/input" enctype="application/json">
<div>
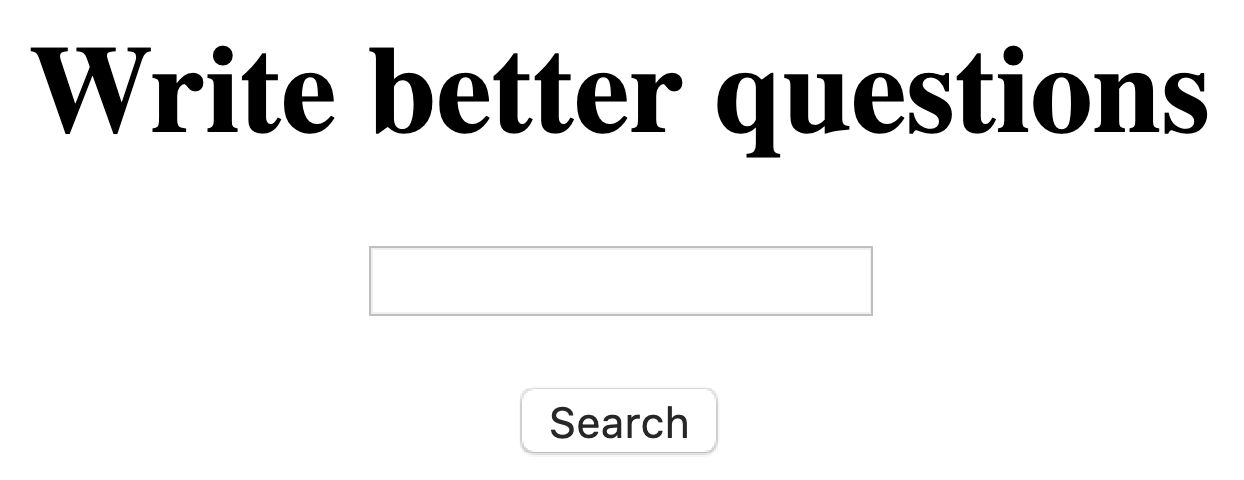
<h1>Write better questions</h1>
<input id="search" name="search" type="text" />
<br><br>
<div>
<input type="submit" value="Search">
</div>
</div>
</form>
</body>
</html>
</html>
This will give us a simple text input box, followed by a search button. It should look as follows:
Next up, we’ll define the logic needed to handle the incoming input using fastAPI. I know it’s overkill but it’s a chance for me to learn and dive deep into fastAPI which is something I’ve wanted to get into for a while.
from fastapi import FastAPI
from starlette.templating import Jinja2Templates

app = FastAPI()
templates = Jinja2Templates(directory='templates')

@app.route("/")
def home(request):
    context = {"request": request}
    return templates.TemplateResponse("index.html", context)

@app.get("/input/")
def read_input(search: str):
    return search
The lines of code above are straight from the fastAPI documentation. The index.html template that we defined above gets served at the root address (in this case localhost on port 8000) and the second function takes in the entered text as a query parameter and returns it. Trivial yes, but it defines the workflow that we are going to be using.
Process User Input
Now that we’ve accepted in a string, let’s go and process it. Pre-processing steps for textual data usually involve removing puncutation, converting to lowercase, removing stop words, white spaces etc. There’s a lot of room here, and the preprocessing involved will be dictated by the task and data at hand. Let’s dive into the pre-processing.
def lower(text: str) -> str:
    return text.lower()

def remove_punctuation(text: str) -> str:
    return text.translate(str.maketrans("", "", string.punctuation))

def sanitize_ascii(text: str) -> str:
    return text.encode(encoding="ascii", errors="ignore").decode()
Starting out, we can assume that this level of pre-processing is enough. Later on, we’ll come back and go through all the steps required for serving such an app in production.
Tokenize
For tokenizing our input, we’ll leverage the spaCy tokenizer. We’ll also need to download an English language pretrained model to actually give us the tokens we need as the library by itself does not come with one built-in. You can refer the documentation here
import spacy as sp
spacy = sp.load("en_core_web_sm")

def tokenize(text: str) -> List[str]:
    return [token.text for token in spacy(text)]
Feature Generation
Now that we’ve defined our pre-processing strategy, the next step is to generate features. Features, as the name suggests are indicators that let us learn something meaningful about the data.
We’ll focus on the Flesch reading-ease score
We assume that sentences only end with periods(.) and the input is in the English language. Let’s compute the individual stats for the Flesch reading-ease score:
def count_syllables(text: str) -> int:
    ### https://codereview.stackexchange.com/a/224180
    return len(
        re.findall('(?!e$)[aeiouy]+', text, re.I) +
        re.findall('^[^aeiouy]*e$', text, re.I)
    )

def count_words(text: str) -> int:
    return len(re.findall(r'\w+', text))

def count_sentences(text: str) -> int:
    return len(re.split(r'.+', text))
The Flesch score can then be easily computed as follows:
def flesch_score(text: str) -> float:
    total_syllables = count_syllables(text)
    total_words = count_words(text)
    total_sentences = count_sentences(text)

    return 206.835 - 1.015 * float(total_words)/total_sentences \
        - 84.6 * (float(total_syllables)/total_words)
That’s it for this post. I’ll pick up with Feature Extraction for the next post.
Any questions/comments or suggestions, please let me know in the comments below!